The purpose of this book is to get you started on the road to creating things using micro-controllers. We will discuss only enough electronics for you to make the circuits, and only enough programming for you to get started. The focus will be on your making things. It is my hope that as you go through this book you will be flooded with ideas of things that you can make.
What is a Microcontroller? Wikipedia1 says: A micro-controller is a small computer on a single VLSI integrated circuit (IC) chip. A microcontroller contains one or more CPUs (processor cores) along with memory and programmable input/output peripherals.(often called GPIO – General Purpose Input Output Pins).
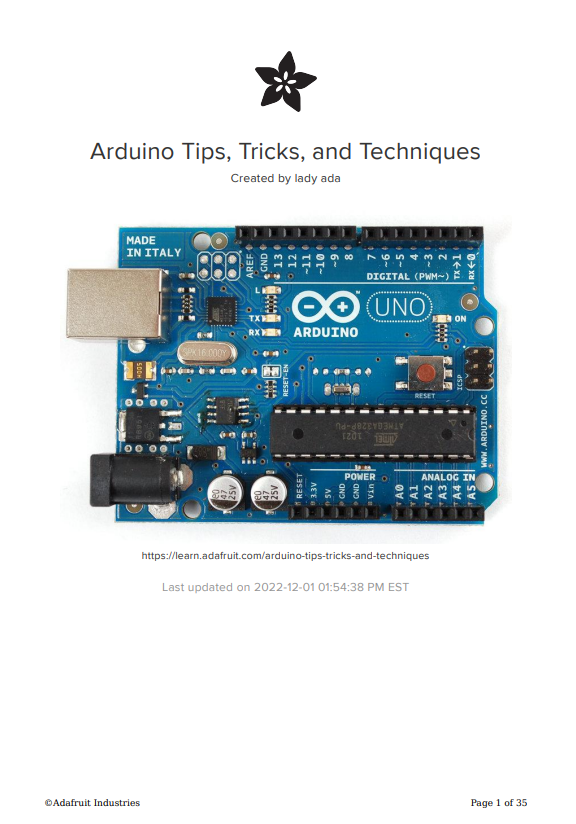
For this book, we will be using the Arduino Uno board. This combines a micro-controller along with all of the extras to make it easy for you to build and debug your projects.
We will be using a breadboard in this book. This is a relatively easy way to make circuits quickly. Breadboards are made for doing quick experiments. They are not known for keeping circuits together for a long time. When you are ready to make a project that you want to stay around for a while, you should consider an alternative method such as wire-wrapping or soldering or even making a printed circuit board (PCB).
The first thing you should notice about the breadboard is all of the holes. These are broken up into 2 sets of columns and a set of rows (the rows are divided in the middle). The columns are named a, b, c, d, e, f, g, h, i, and j (from left to right). The rows are numbered 1 – 30. (from top to bottom). The columns on the edges do not have letters or numbers.
The columns on the edges are connected from top to bottom inside of the breadboard to make it easy to supply power and ground. (You can think of ground as the negative side of a battery and the power as the positive side.) For this book our power will be +5 volts.
Inside of the breadboard, the holes in each row are connected up to the break in the middle of the board. For Example: a1,b1,c1,d1,e1 all have a wire inside of the breadboard to connect them. Then f1, g1, h1, i1, and j1 are all connected. but a1 is not connected to f1. This may sound confusing now, but it will quickly come to make sense as we wire up circuits.
